Are you searching for how to install a WordPress plugin? In this guide, we’ll walk you through the steps involved in installing a WordPress plugin.
Installing a WordPress plugin is an integral part of setting up a WordPress website. Plugins enable users to customize and extend the functionality of their websites beyond the basic features that come with WordPress.
How to Install a WordPress Plugin (Step By Step)
1) Pre-requisites
Before proceeding, make sure you have the following:
- An installed WordPress site – This guide assumes you’ve already set up a WordPress website. If you haven’t, you’ll need to do this first.
- Admin Access – You must have administrative access to your WordPress dashboard to install plugins.
2) Choose the Plugin
WordPress offers a vast repository of plugins for various functions, from SEO optimization to contact forms, e-commerce, and more. You need to choose a plugin that matches your requirements. Make sure the plugin is compatible with your version of WordPress, and check its user ratings and reviews for quality assurance.
3) Installing a Plugin from the WordPress Plugin Directory
The simplest way to install a plugin is directly from the WordPress Plugin Directory. Here’s how:
- Log in to your WordPress Dashboard: Go to your WordPress site’s admin area (
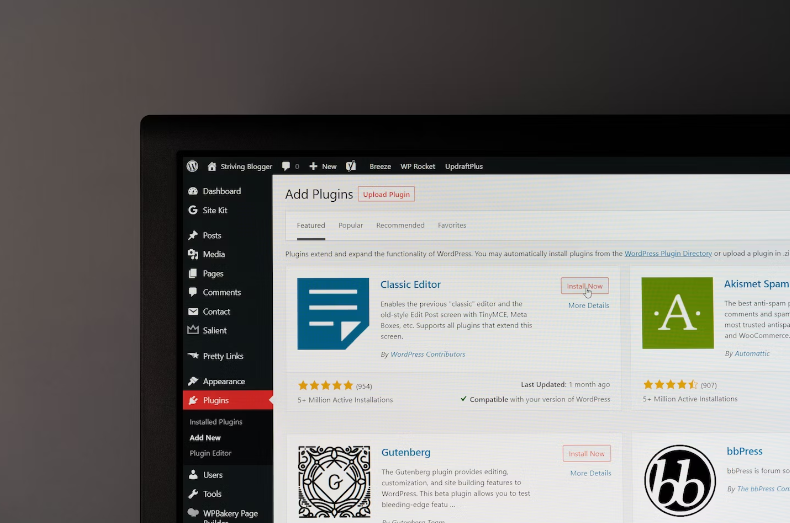
yoursite.com/wp-admin), and log in using your username and password. - Navigate to ‘Plugins’: On your WordPress dashboard, find the ‘Plugins’ option in the left-hand menu, and click on ‘Add New’.
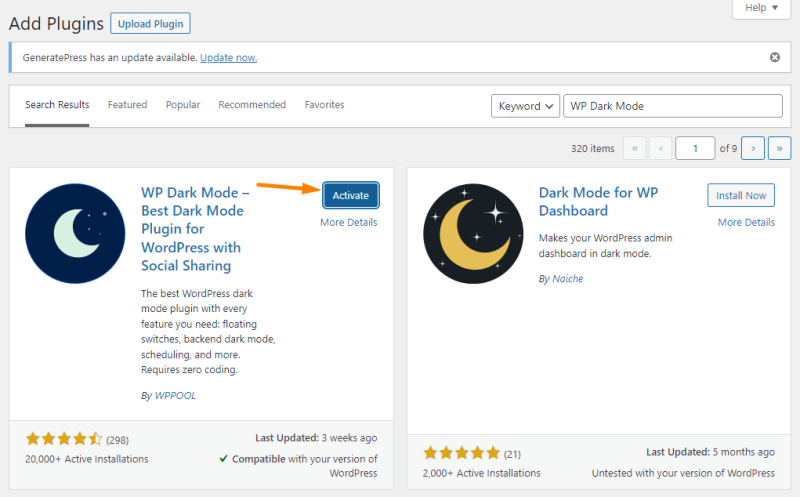
- Search for the Plugin: In the ‘Add Plugins’ screen, you’ll find a search bar in the top right corner. Type in the name of the plugin you wish to install.
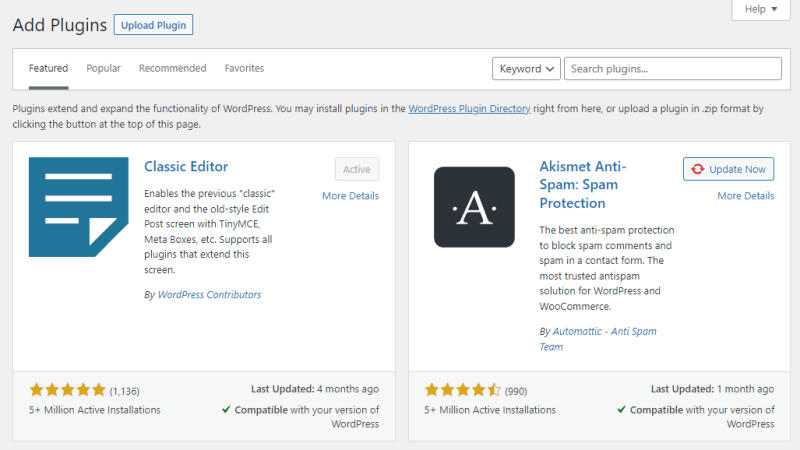
- Install the Plugin: Once you’ve found the plugin, click on the ‘Install Now’ button next to its name. WordPress will now download and install the plugin for you.
- Activate the Plugin: After installation, the ‘Install Now’ button will change to ‘Activate’. Click on this button to activate the plugin and start using it.
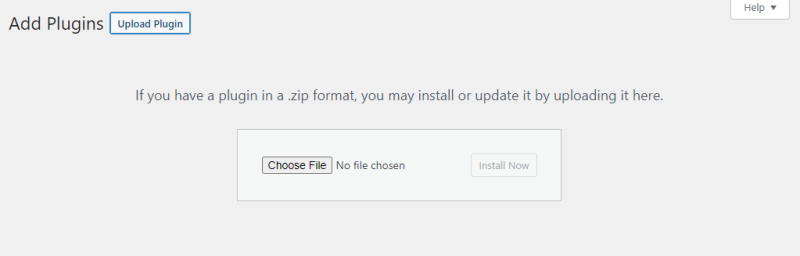
4) Installing a Plugin Manually (Upload Method)
In some cases, you might need to install a plugin manually, often when the plugin isn’t available in the WordPress directory. These plugins usually come in a .zip file. Here’s how to install a plugin manually:
- Download the Plugin: Download the plugin from its source to your computer. It should be in a .zip format.
- Navigate to ‘Plugins’: Log in to your WordPress dashboard, find the ‘Plugins’ option in the left-hand menu, and click on ‘Add New’.
- Upload the Plugin: On the ‘Add Plugins’ screen, click on the ‘Upload Plugin’ button at the top of the page. Then click ‘Choose File’ and select the plugin’s .zip file from your computer.
- Install and Activate: Click ‘Install Now’ to upload the file and install the plugin. Once the plugin is installed, click ‘Activate Plugin’ to start using it.
5) Post-Installation: Configuring Your Plugin
After you’ve activated your plugin, it’s time to configure it. Many plugins add a new menu item in your WordPress dashboard, while others might be found under ‘Settings’ or within the ‘Tools’ menu. Configuration can vary greatly between plugins, so refer to the plugin’s documentation or help files for specific instructions.
Conclusion
That’s it! You’ve successfully installed a WordPress plugin. Remember to keep your plugins updated to ensure they work correctly and don’t pose security risks to your site.
Bear in mind that while plugins can greatly enhance your website, it’s important not to overuse them. Having too many plugins can slow down your site and potentially introduce conflicts. Always use reputable plugins and only those necessary for your site’s functionality.
See Also